이번에 새롭게 게임을 만들기 시작하면서 2D 횡 기준으로 무한으로 맵을 사용할 수 있는 기능이 필요했습니다.
자료 조사들을 해보니 sprite 기준으로 된 예시들이 많아서 sprite들의 position 값을 바꿔주면서 마지막 sprite에 다시 붙이는 방법과, 카메라 이동을 기준으로 sprite의 position 값을 바꿔주는 방법을 써보게 됐습니다.
카메라 이동을 기준으로 했을 때는 단순 이미지로 진행하였고, sprite 이동을 기준으로 했을 때는 Parallax 방식으로 진행했습니다.
Parallax : 거리에 따른 상대적 속도를 활용한 기술
1. sprite 이동
사용 에셋 : https://assetstore.unity.com/packages/2d/environments/free-2d-cartoon-parallax-background-205812
Free 2D Cartoon Parallax Background | 2D 주변환경 | Unity Asset Store
Elevate your workflow with the Free 2D Cartoon Parallax Background asset from CPasteGame. Find this & more 주변환경 on the Unity Asset Store.
assetstore.unity.com

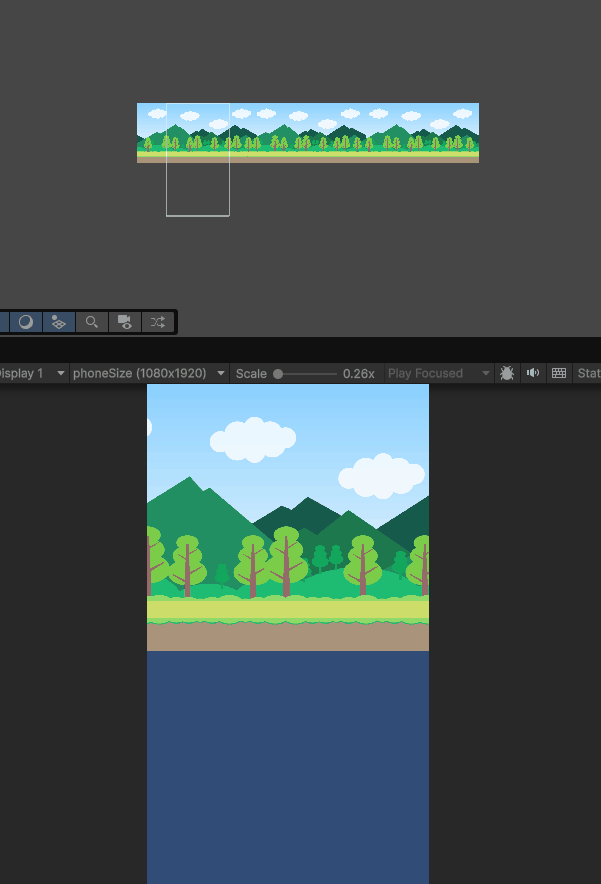
위 이미지처럼 Mountain 폴더에 있는 layer들을 넣어서 background_a ~ c까지 부모 object안에 넣어줬습니다.
public class moveMap : MonoBehaviour
{
	// 각 layer별로 속도 설정해주기 위해서 사용
    public float speed;
    // 카메라가 지나가면서 background object가 안 보일 때 이동할 위치
    public Transform endSprite;

    // mainCamera의 Orthographic size
    private float viewWidth;

    private void Awake()
    {
    	// background object가 완전히 지나갔을 때 바꿔주기 위해서 * 2
        viewWidth = Camera.main.orthographicSize * 2;
    }

    void Update()
    {
    	// 현재 layer object의 위치
        Vector3 curPos = transform.position;
        Vector3 nextPos = Vector3.left * speed * Time.deltaTime;
        transform.position = curPos + nextPos;

        // 현재 background 자식 object에 있는 layer object의 위치가 view width보다 작은 경우
        // camera 시야에서 벗어나기 때문에 설정해둔 이동할 위치로 이동
        // -1을 곱해주는 이유는 vector3.left로 이동하기 때문
        if (transform.position.x < viewWidth * -1)
        {
            Vector3 movePos = endSprite.position;
            transform.position = movePos + Vector3.right * viewWidth;
        }
    }
}
background 자식 object들에 있는 layout에 해당 script 부착 후 layer 별로 속도 조절한 뒤 End Sprite는 안 보이는 지점에 갔을 때 끝에 붙어야 할 layer의 위치값을 넣어줬습니다.
예시 : A, B, C 순일 때
- A가 끝난 뒤로는 C 뒤로 이동
- B가 끝난 뒤로는 A 뒤로 이동
- C가 끝난 뒤로는 B 뒤로 이동

2. 카메라 이동
public class moveCamera : MonoBehaviour
{
    public float speed;
    public Transform[] backgroundTransforms;
    private float viewWidth;
    private int role = 0;
    private int startIndex = 0, endIndex = 2;

    private void Awake()
    {
        viewWidth = Camera.main.orthographicSize * 2;
    }

    void Update()
    {
        Vector3 curPos = transform.position;
        Vector3 nextPos = Vector3.right * speed * Time.deltaTime;
        transform.position = curPos + nextPos;

        if (transform.position.x  / viewWidth >= role)
        {
            role++;
            Vector3 movePos = backgroundTransforms[endIndex].position;

            backgroundTransforms[startIndex].position = movePos + Vector3.right * viewWidth;

            int startIndexSave = startIndex;
            // startIndex가 backgroundTransfroms.Length를 넘는 경우 0으로 초기화
            startIndex = startIndex + 1 >= backgroundTransforms.Length ? 0 : startIndex + 1;
            endIndex = startIndexSave;
        }
    }
}
단순 이미지 이동이여서 background a, b, c의 transform을 배열 형식으로 받아줍니다.
기존에는 sprite의 position 값을 바꿔줬었는데 이제는 mainCamera에 script를 붙여넣고, camera의 position을 변경해주면서 camera의 위치가 viewWidth 만큼 왔을 때 위치를 변경해주는 방식입니다.
현재 만들려고 하는 게임 방식이 캐릭터가 이동하다가 적을 만나면 멈춰서 싸워야하는데 그때 맵이 움직이지 않기도 하고, 맵만 움직였을 때는 캐릭터가 앞으로 나가는 느낌이 더 안 살 것 같아서 카메라로 이동하는 방식도 구현해봤습니다.
그래서 moveState, BattleState로 나눠서 moveState인 경우에는 캐릭터와 카메라가 같이 움직이고 collider의 enemy tag와 접촉하는 순간 BattleState로 바뀌면서 camera 이동은 멈추고 전투를 시작하는 방식으로 구현할 예정입니다.
'Project' 카테고리의 다른 글
| Unity 2D - 무기 시스템 (전략 패턴) (0) | 2026.04.23 |
|---|---|
| Unity 3D - 장애물 장판 (0) | 2026.03.24 |
| Unity 3D - 코요테 타임(Coyote Time)과 점프 버퍼(Jump Buffer) 적용 (0) | 2026.03.24 |
| Unity 3D - 상점 미리보기 (3D Preview, Render Texture) (0) | 2026.03.24 |
| Unity - Localization 다중 언어 적용 (0) | 2026.03.24 |