2026.09.23 - [Project/Project_P] - Unity2D - TileMap 캐릭터 Grid 이동 (Input System, GridMap)
Unity2D - TileMap 캐릭터 Grid 이동 (Input System, GridMap)
플레이어 이동은 Grid를 선택하면 해당 위치까지 이동하는 방식과, 캐릭터를 직접 드래그해서 원하는 경로를 지정하는 방식 두 가지로 구현했습니다. 두 방식 모두 Pointer 입력과 Grid 좌표를 공통
unitylearn.tistory.com
이전 포스팅에서는 Input System을 통해 Pointer 입력을 받고, 선택한 위치를 TileMap의 Grid Cell로 변환하는 과정까지 정리했습니다.
이번에는 캐릭터가 선택한 Grid까지 이동할 수 있도록 BFS를 이용해서 경로를 만드는 과정을 정리해보겠습니다.
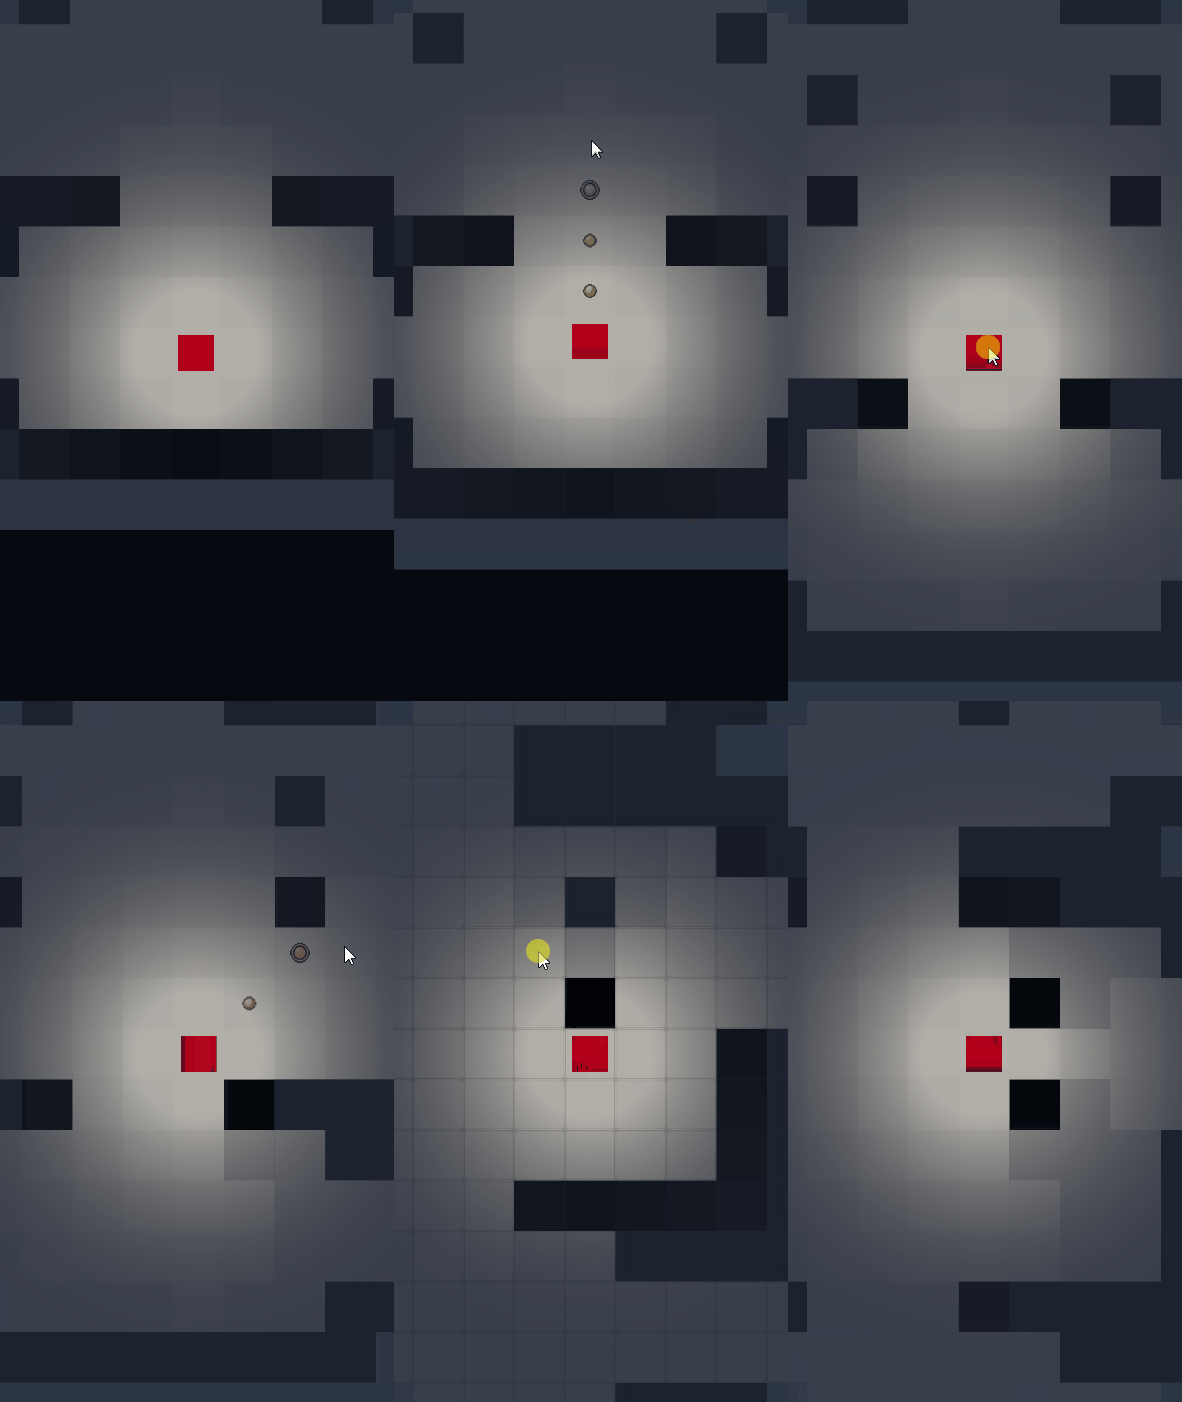
1. PlayerDragController
먼저 플레이어를 선택하고 이동할 Grid를 지정하는 과정입니다.
// 클릭 / 터치 시작
private void OnPressStarted(InputAction.CallbackContext context)
{
    pressScreenPosition = inputActions.GamePlay.Point.ReadValue<Vector2>();
    currentScreenPosition = pressScreenPosition;
    Vector2 worldPosition = ScreenToWorld(pressScreenPosition);

    if (playerTouchCollider.OverlapPoint(worldPosition))
    {
        playerWasSelectedOnPress =
        state == InputState.Selected;

        state = InputState.PressingPlayer;

        StartLongPressAsync().Forget();

        return;
    }

    if (state != InputState.Selected) return;

    pressedGridCell = gridMap.WorldToCell(worldPosition);
    state = InputState.PressingGrid;
}

// 클릭 / 터치 종료
private void OnPressCanceled(InputAction.CallbackContext context)
{
    CancelLongPress();

    currentScreenPosition = inputActions.GamePlay.Point.ReadValue<Vector2>();

    switch (state)
    {
        case InputState.PressingPlayer:
            HandlePlayerTap();
            break;
        case InputState.PressingGrid:
            TryExecuteTapMove();
            break;
    }
}

private void HandlePlayerTap()
{
    if (playerWasSelectedOnPress)
    {
        DeselectPlayer();
        return;
    }
    SelectPlayer();
}

private void SelectPlayer()
{
    state = InputState.Selected;
    previewRenderer.ClearPath();
    previewRenderer.ShowSelectedGrid();
}
플레이어 캐릭터를 누르면 OnPressStarted()가 호출됩니다.
캐릭터를 누른 상태이기 때문에 state를 PressingPlayer로 변경하고 StartLongPressAsync()를 시작합니다.
이번에는 Drag가 아닌 짧은 탭이기 때문에 손을 떼면 바로 OnPressCanceled()가 호출되고, 진행 중이던 Long Press 작업은 취소됩니다.
현재 상태가 PressingPlayer이므로 HandlePlayerTap()을 거쳐 SelectPlayer()가 호출되고, 이동 가능한 Grid가 화면에 표시됩니다.
이후 원하는 Grid를 누르면 이미 플레이어가 선택된 Selected 상태이기 때문에 선택한 위치를 Grid Cell로 변환해서
로 변환해서 pressedGridCell에 저장합니다.
pressedGridCell = gridMap.WorldToCell(worldPosition);
state = InputState.PressingGrid;
손을 떼면 OnPressCanceled()에서 TryExecuteTapMove()가 호출되고, 현재 플레이어 Cell에서 선택한 Cell까지의 경로를 찾기 시작합니다.
2. GridPathService
GridPathService는 현재 플레이어 위치에서 선택한 목적지까지 이동 경로를 계산하는 클래스입니다.
PlayerDragController에서는 현재 플레이어 위치인 playerCell, 선택한 목적지인 pressedGridCell, 그리고 결과를 저장할 tapPathBuffer를 전달합니다.
private readonly Queue<Vector3Int> queue;
private readonly Dictionary<Vector3Int, Vector3Int> parent;

private static readonly Vector3Int[] Directions =
{
    new(1, 0, 0),
    new(-1, 0, 0),
    new(0, 1, 0),
    new(0, -1, 0),
    new(1, 1, 0),
    new(1, -1, 0),
    new(-1, 1, 0),
    new(-1, -1, 0)
};

public bool TryFindPath(Vector3Int start, Vector3Int goal, List<Vector3Int> result)
{
    result.Clear();

    if (start == goal)
    {
        result.Add(start);
        return true;
    }

    if (!Search(start, goal)) return false;

    BuildPathInto(start, goal, result);

    return true;
}
경로 탐색은 BFS, 즉 너비 우선 탐색을 사용했습니다.
BFS는 한 방향을 끝까지 탐색하는 것이 아니라, 시작 위치를 기준으로 가까운 곳부터 탐색 범위를 넓혀가는 방식입니다.
현재 캐릭터는 상하좌우와 대각선을 포함한 8방향 이동이 가능하고, 한 Cell 이동 비용을 동일하게 사용하고 있습니다.
Start를 (0, 0), Goal을 (2, 3)이라고 하면 탐색 거리를 다음과 같이 볼 수 있습니다.
| 3 | 3 | Goal |
| 2 | 2 | 2 |
| 1 | 1 | 2 |
| Start | 1 | 2 |
표의 숫자는 Queue에서 처리되는 정확한 순서가 아니라, Start에서 해당 Cell까지 필요한 최소 이동 횟수를 의미합니다.
Start 주변의 8방향 중 이동 가능한 Cell을 먼저 확인하고, 그다음에는 해당 Cell 주변을 다시 확인하면서 탐색 범위를 점점 넓혀갑니다.
실제 탐색 코드는 다음과 같습니다.
private bool Search(Vector3Int start, Vector3Int goal)
{
    queue.Clear();
    parent.Clear();

    if (gridMap == null || !gridMap.IsWalkable(goal)) return false;

    queue.Enqueue(start);
    parent[start] = start;

    while (queue.Count > 0)
    {
        Vector3Int current = queue.Dequeue();

        for (int i = 0; i < Directions.Length; i++)
        {
            Vector3Int direction = Directions[i];
            Vector3Int next = current + direction;

            if (parent.ContainsKey(next) || !gridMap.CanMove(current, next))
            {
                continue;
            }

            parent[next] = current;

            if (next == goal) return true;

            queue.Enqueue(next);
        }
    }

    return false;
}
Queue에는 앞으로 탐색할 Cell이 저장됩니다.
먼저 Start를 Queue에 넣고,
queue.Enqueue(start);
Queue에서 하나씩 꺼내 현재 Cell의 주변 8방향을 확인합니다.
Vector3Int current = queue.Dequeue();
새로운 Cell을 확인할 때는 두 가지를 검사합니다.
if (parent.ContainsKey(next) || !gridMap.CanMove(current, next))
{
    continue;
}
parent에 이미 등록되어 있다면 한 번 탐색한 Cell이고, GridMap.CanMove()에서 이동할 수 없다고 판단되면 벽이나 장애물 등으로 인해 이동할 수 없는 Cell이기 때문에 제외합니다.
이동 가능한 새로운 Cell이라면 해당 위치를 어디에서 방문했는지 parent에 저장합니다.
parent[next] = current;예를 들어 다음과 같이 저장될 수 있습니다.
| 현재 Cell | Parent |
| (1, 0) | (0, 0) |
| (0, 1) | (0, 0) |
| (1, 1) | (0, 0) |
| (1, 2) | (0, 1) |
즉 parent는 이미 방문한 Cell인지 확인하는 역할과, 해당 Cell을 어디에서 방문했는지 기록하는 역할을 같이 하게 됩니다.
또한 Queue와 Dictionary를 탐색할 때마다 새로 생성하지 않고 미리 생성해둔 뒤 Clear()해서 재사용했습니다.
queue.Clear();
parent.Clear();
경로 탐색은 플레이어가 이동할 때마다 반복될 수 있기 때문에 불필요한 컬렉션 객체 생성을 줄이기 위한 방식입니다.
- 경로 복원
Goal을 발견하면 BFS 탐색을 종료합니다.
하지만 이 시점에는 목적지를 찾았을 뿐, 실제로 캐릭터가 어떤 Cell을 거쳐서 이동해야 하는지는 아직 만들어지지 않은 상태입니다.
그래서 앞에서 저장했던 parent를 이용합니다.
private void BuildPathInto(Vector3Int start, Vector3Int goal, List<Vector3Int> result)
{
    Vector3Int current = goal;

    while (current != start)
    {
        result.Add(current);
        current = parent[current];
    }

    result.Add(start);
    result.Reverse();
}
Goal에서부터 parent를 따라가면 다음과 같이 Start까지 역으로 돌아갈 수 있습니다.
Goal
 ↓
Parent
 ↓
Parent
 ↓
Parent
 ↓
Start
예를 들어 실제 경로가
Start → A → B → C → Goal이라면 parent를 따라간 결과는 아래와 같습니다.
Goal → C → B → A → Start
따라서 마지막에 Reverse()를 사용해서 순서를 뒤집습니다.
result.Reverse();
최종적으로
Start → A → B → C → Goal형태의 이동 경로를 얻을 수 있습니다.
3. MovementPlan
BFS로 만들어진 경로를 바로 PlayerMover에 전달하지 않고 MovementPlan으로 한 번 감싸서 전달했습니다.
using System.Collections.Generic;
using UnityEngine;

public class MovementPlan
{
    private readonly List<Vector3Int> cells;

    public IReadOnlyList<Vector3Int> Cells => cells;

    public MovementPlan(IReadOnlyList<Vector3Int> sourceCells)
    {
        cells = new List<Vector3Int>(sourceCells.Count);

        for (int i = 0; i < sourceCells.Count; i++)
        {
            cells.Add(sourceCells[i]);
        }
    }
}
MovementPlan을 사용한 이유는 경로를 만드는 부분과 실제 캐릭터를 움직이는 부분을 분리하기 위해서입니다.
현재 플레이어의 이동 경로를 만드는 방식은 하나가 아닙니다.
Grid 선택
    ↓
BFS로 경로 생성
    ┐
    │
    ├──→ MovementPlan → PlayerMover
    │
    ┘
Drag 이동
    ↓
직접 경로 생성
Grid를 선택하는 방식은 GridPathService에서 BFS를 이용해 경로를 만들고, Drag 이동은 사용자가 직접 지정한 방향을 기준으로 별도의 경로를 만듭니다.
경로를 만드는 방식은 다르지만 최종적으로 필요한 정보는 동일합니다.
캐릭터가 어떤 Cell들을
어떤 순서로 이동해야 하는가
그래서 두 방식에서 만들어진 경로를 MovementPlan이라는 공통 형태로 만든 뒤 PlayerMover에 전달하도록 했습니다.
또한 외부에서는 이동 경로를 직접 수정하지 못하도록 IReadOnlyList로 공개했습니다.
public IReadOnlyList<Vector3Int> Cells => cells;생성자에서는 전달받은 sourceCells를 그대로 가지고 있는 것이 아니라 새로운 List를 만들고 값을 복사합니다.
cells = new List<Vector3Int>(sourceCells.Count);tapPathBuffer는 다음 경로를 탐색할 때 다시 Clear()해서 사용할 수 있기 때문에, MovementPlan에서는 현재 실행할 이동 경로를 독립적으로 가지고 있도록 했습니다.
4. PlayerMover
마지막으로 완성된 MovementPlan을 PlayerMover에 전달해서 실제 캐릭터를 이동시킵니다.
public async UniTask ExecuteAsync(MovementPlan plan)
{
    if (plan == null)
        return;

    if (plan.Cells.Count <= 1)
        return;

    for (int i = 1; i < plan.Cells.Count; i++)
    {
        Vector3Int nextCell = plan.Cells[i];

        await MoveToCellAsync(nextCell);

        // 이동 경로로 표시했던 Cell 제거
        CellReached?.Invoke(nextCell);
    }
}

private async UniTask MoveToCellAsync(Vector3Int targetCell)
{
    Vector3 startPosition = transform.position;
    Vector3 targetPosition = gridMap.CellToWorld(targetCell);

    if (moveDurationPerCell <= 0f)
    {
        transform.position = targetPosition;
        return;
    }

    float timer = 0f;

    while (timer < moveDurationPerCell)
    {
        timer += Time.deltaTime;

        float t = Mathf.Clamp01(timer / moveDurationPerCell);

        transform.position = Vector3.Lerp(startPosition, targetPosition, t);

        await UniTask.Yield(PlayerLoopTiming.Update, this.GetCancellationTokenOnDestroy());
    }

    transform.position = targetPosition;
}
PlayerMover에서는 MovementPlan.Cells를 순서대로 확인하면서 다음 Cell로 이동합니다.
BFS에서는 Grid 좌표를 기준으로 경로를 만들었기 때문에 실제 이동할 때는 CellToWorld()를 이용해서 Cell 좌표를 World Position으로 변환합니다.
Vector3 targetPosition = gridMap.CellToWorld(targetCell);그리고 Vector3.Lerp()를 이용해서 현재 위치에서 다음 Cell까지 일정 시간 동안 이동시켰습니다.
transform.position = Vector3.Lerp(startPosition, targetPosition, t);한 Cell의 이동이 끝나면 CellReached 이벤트를 호출해서 이동 경로를 표시하던 Preview Cell도 순서대로 제거합니다.
CellReached?.Invoke(nextCell);
정리
Grid 선택 이동은 다음과 같은 구조로 구현했습니다.
PlayerDragController
        ↓
목적지 Cell 선택
        ↓
GridPathService
        ↓
BFS 탐색
        ↓
Parent를 이용한 경로 복원
        ↓
MovementPlan
        ↓
PlayerMover
        ↓
실제 캐릭터 이동
GridPathService에서는 BFS를 이용해서 이동 가능한 Cell을 가까운 순서대로 탐색하고, parent에 이전 Cell을 기록해서 Goal부터 Start까지의 경로를 다시 복원했습니다.
그리고 만들어진 경로를 MovementPlan으로 분리해서 경로를 만드는 로직과 실제 캐릭터 이동 로직을 분리했습니다.
이 구조를 이용하면 BFS로 만든 경로뿐만 아니라 다음에 구현할 Drag 방식의 이동 경로도 같은 MovementPlan을 통해 PlayerMover에서 처리할 수 있습니다.
다음 포스팅에서는 캐릭터를 직접 Drag해서 사용자가 원하는 방향으로 이동 경로를 만드는 과정을 정리해보겠습니다.
'Project > Project_P' 카테고리의 다른 글
| Unity2D - TileMap 캐릭터 Grid 이동 (Input System, GridMap) (0) | 2026.09.23 |
|---|